Note: Income Tax functionality is currently disabled in Easy MTD until approved by HMRC. Read more
Work your way through the following sections to prepare for submitting Income Tax figures using Easy MTD.
- Sign up for an account
- Download, install and launch
- Add a taxpayer
- Connect with HMRC
- Specify your account
It is assumed the HMRC online services account for the taxpayer is ready for Making Tax Digital for Income Tax.
Sign Up for an Account
You need an Easy MTD account so you can view and submit Income Tax figures using Easy MTD. You can skip this section if you already have an Easy MTD, Easy MTD VAT or Fly Software account.
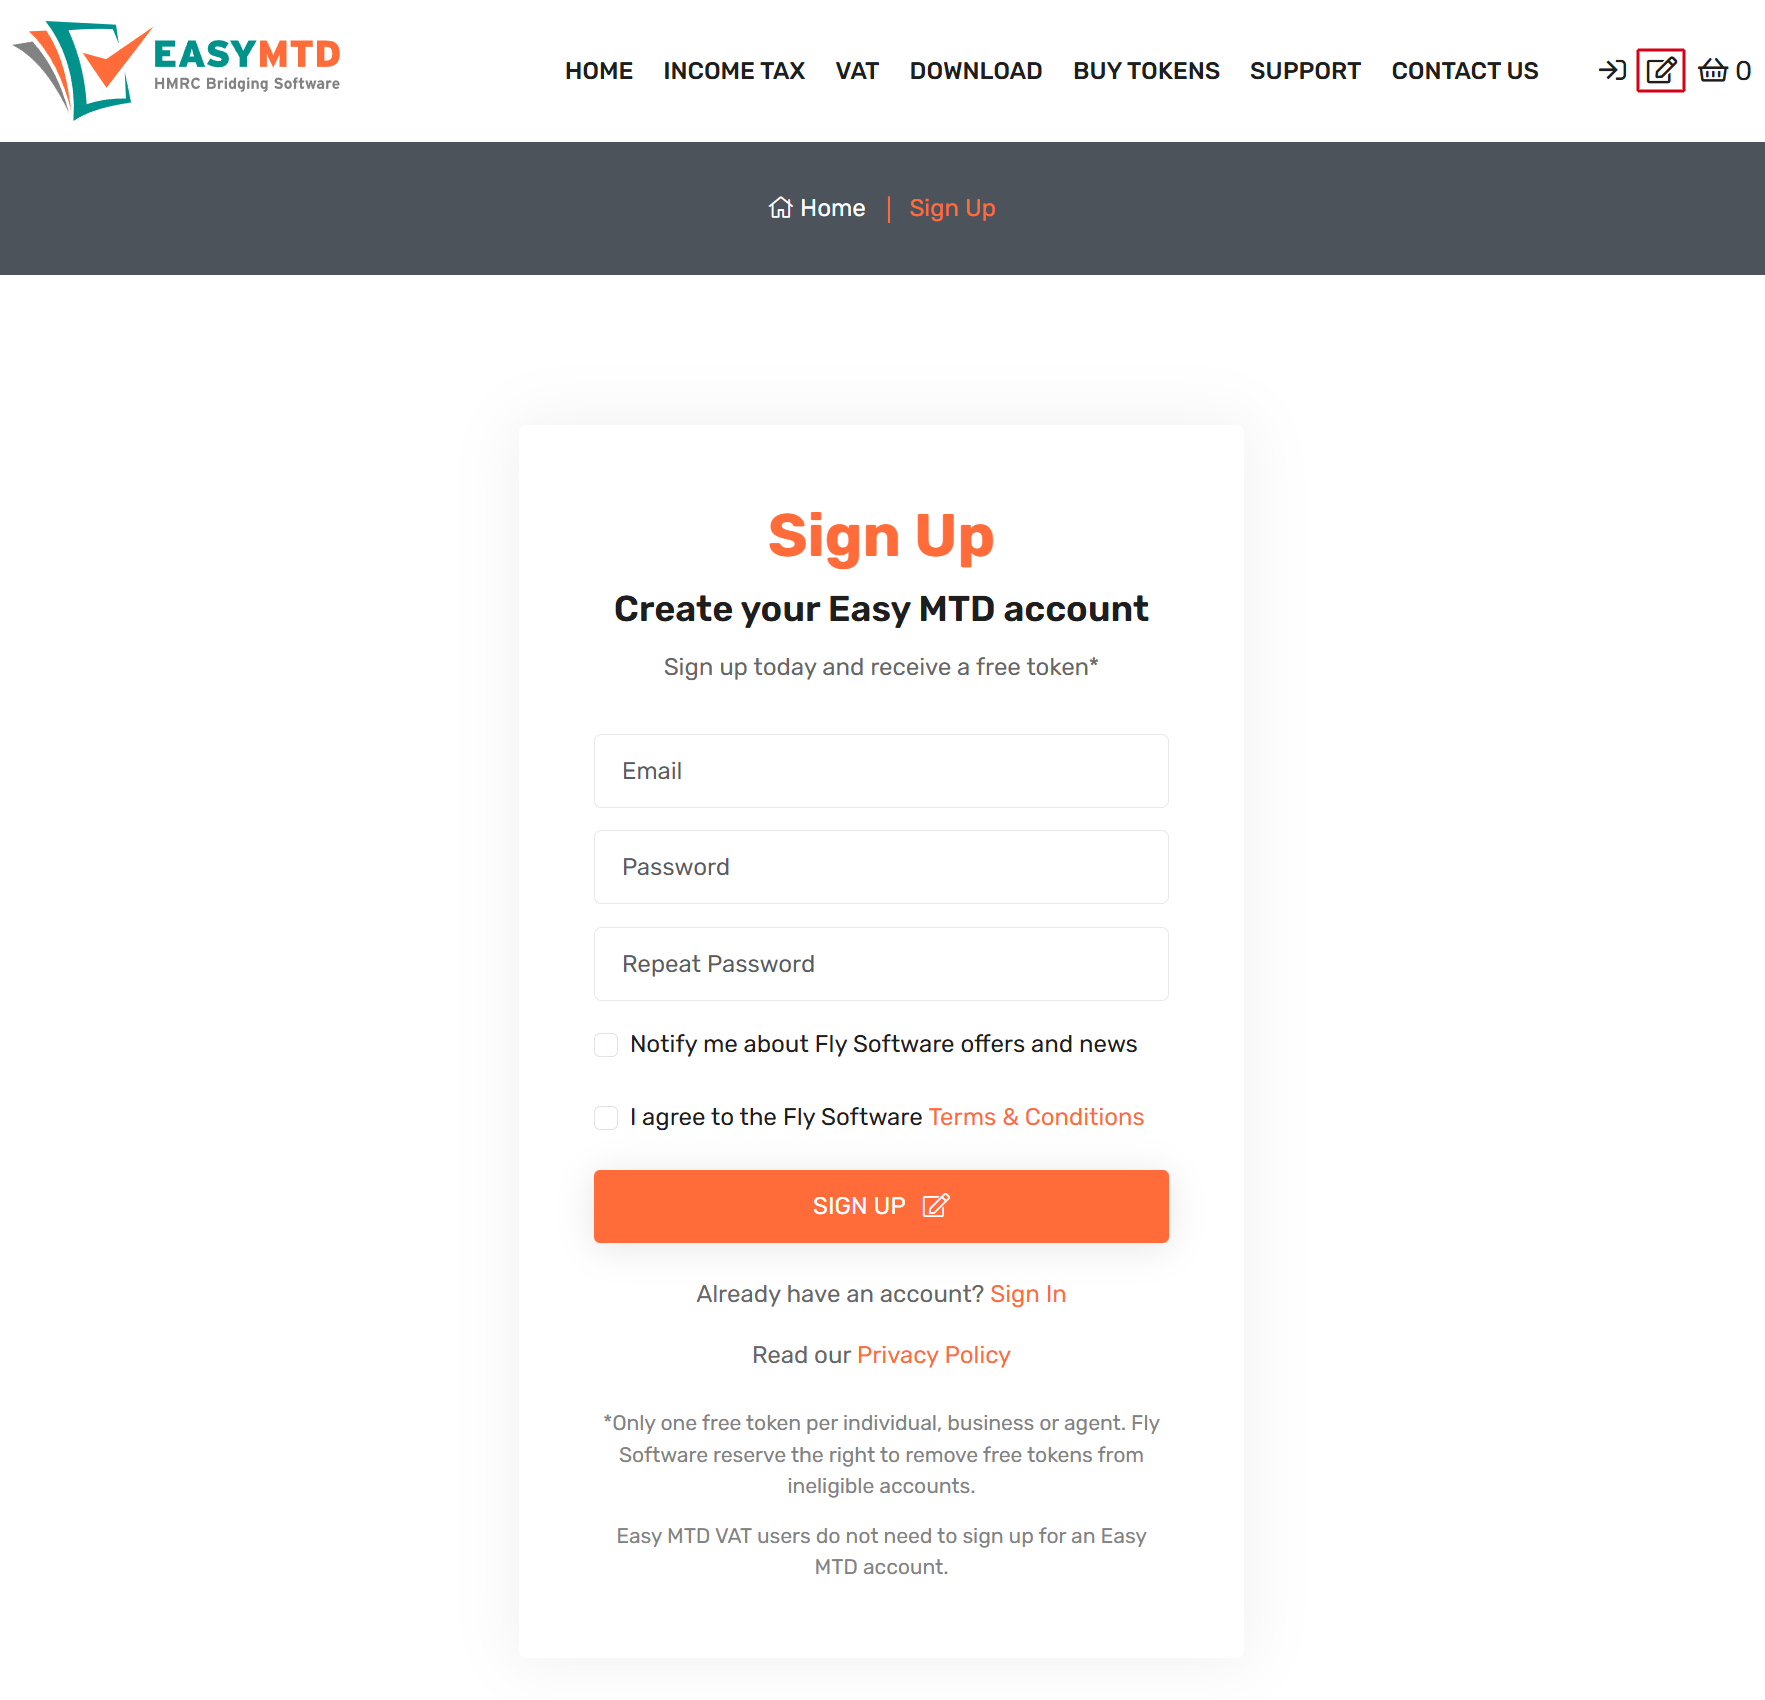
1. Go to the Easy MTD Sign Up page: easymtd.com/account/sign-up
You can also click the Sign Up icon top right of any Easy MTD web page.
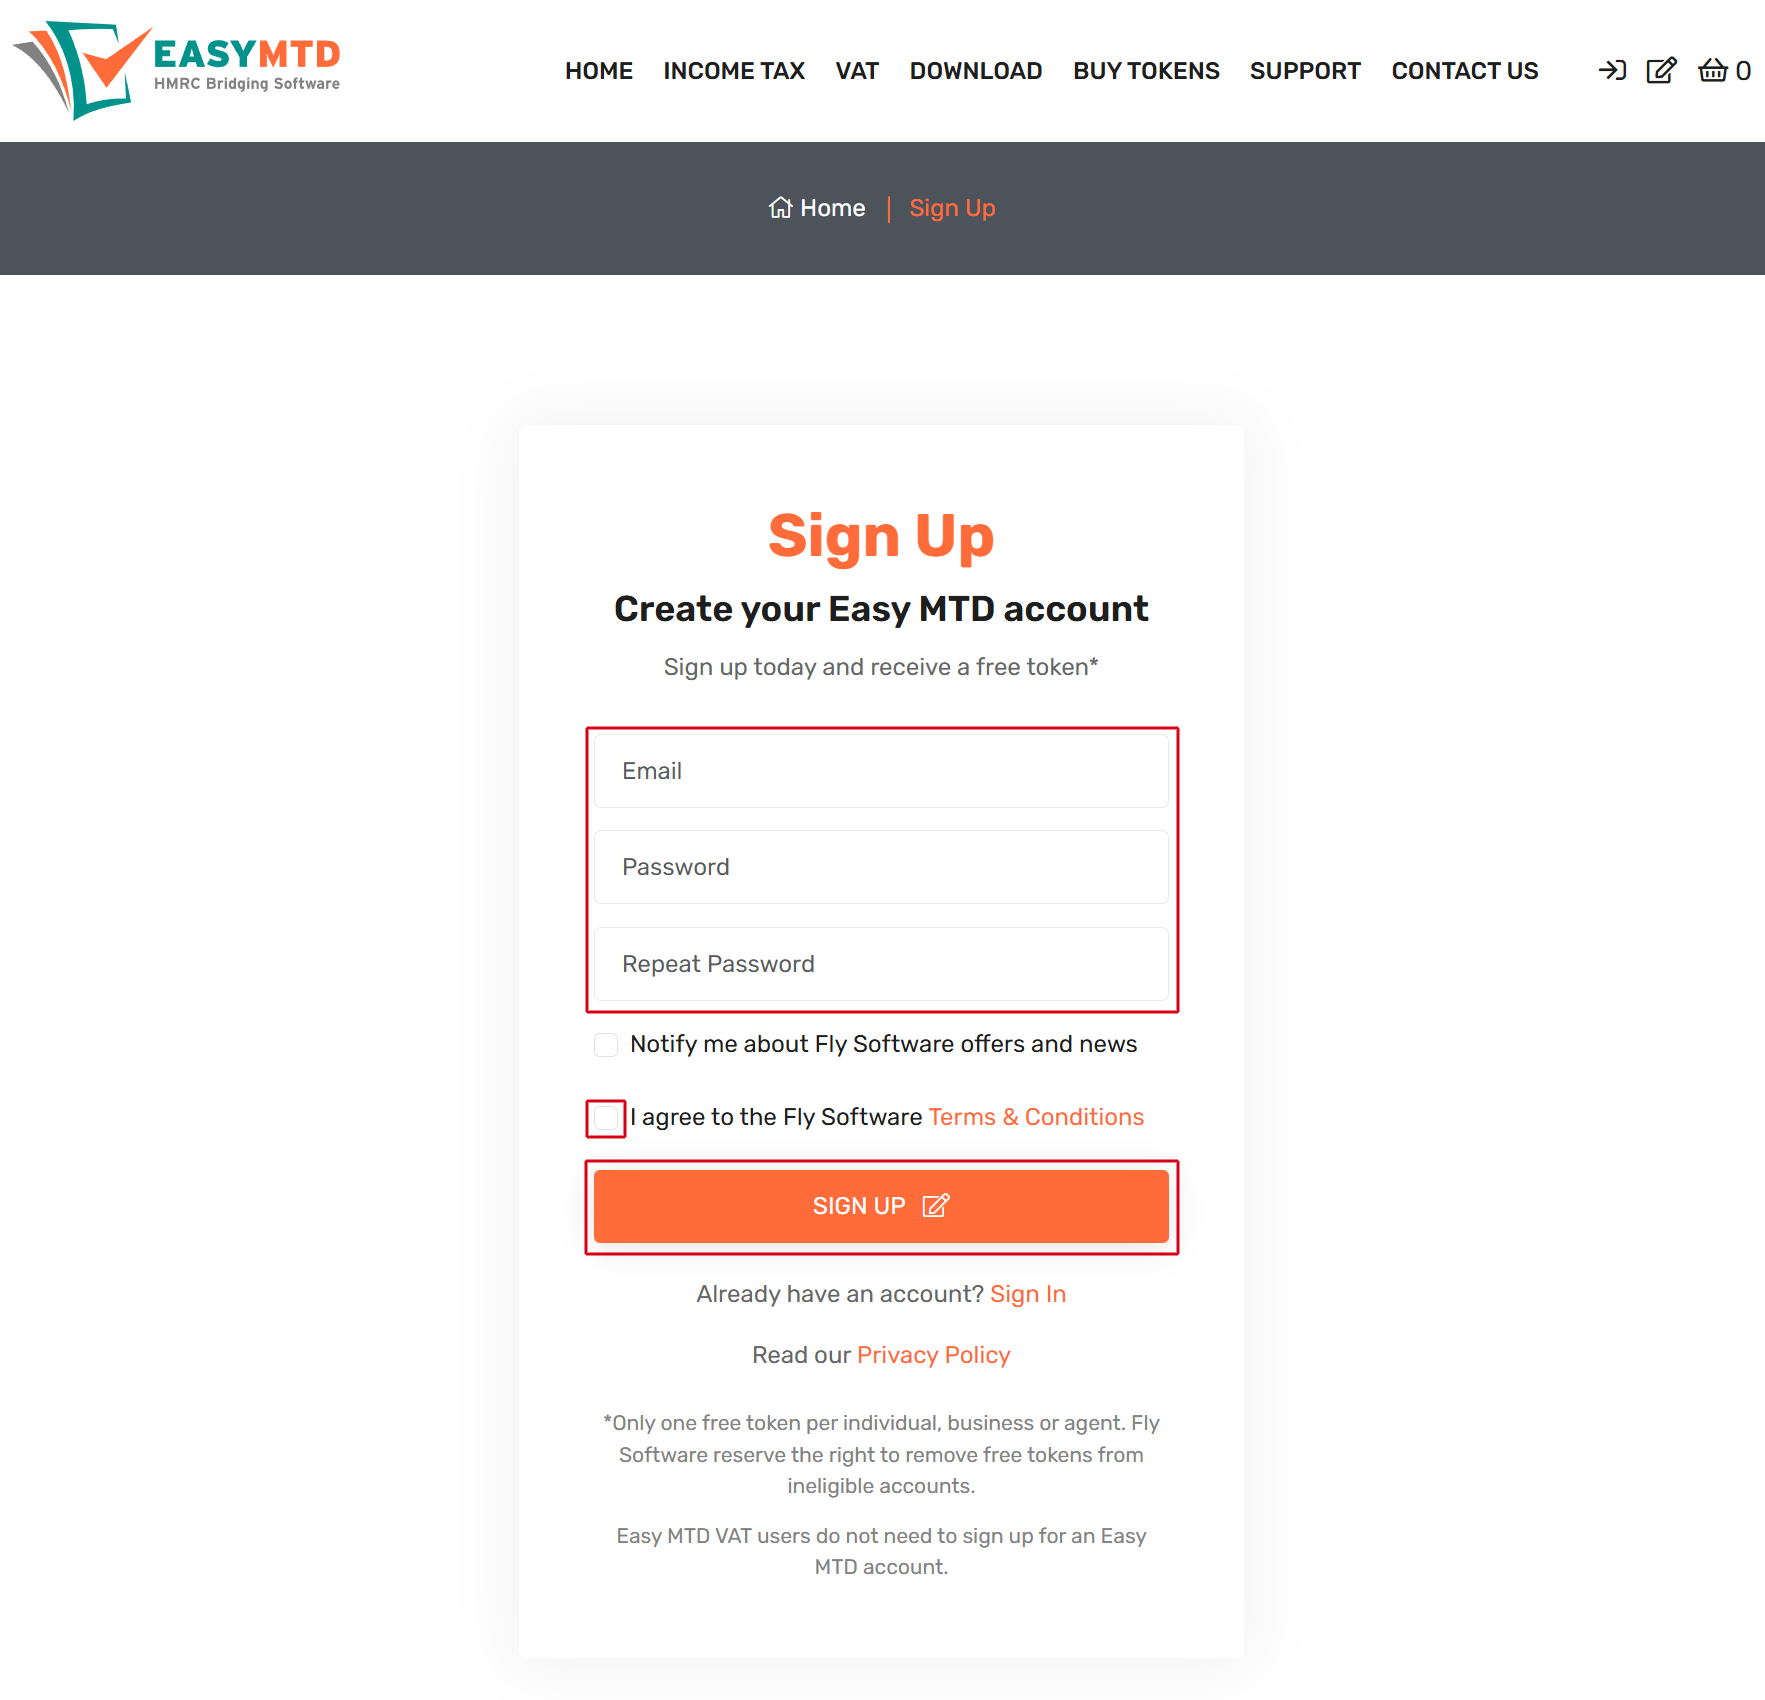
2. Specify the requested information and click the SIGN UP button
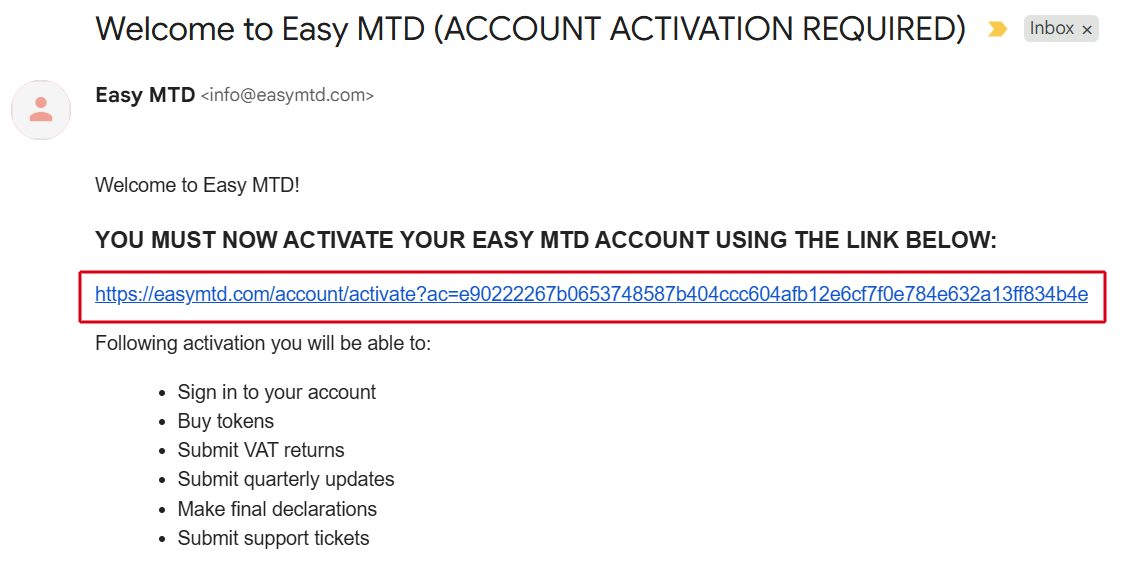
3. Activate your account using the link in the Welcome email sent to you
If you can't find the email check your junk/spam folder or contact us.
Download, Install and Launch
To view and submit Income Tax figures, Easy MTD must be downloaded, installed and launched.
1. Go to the Easy MTD Downloads page: easymtdvat.com/download
You can also click the Download menu at the top of any Easy MTD web page.
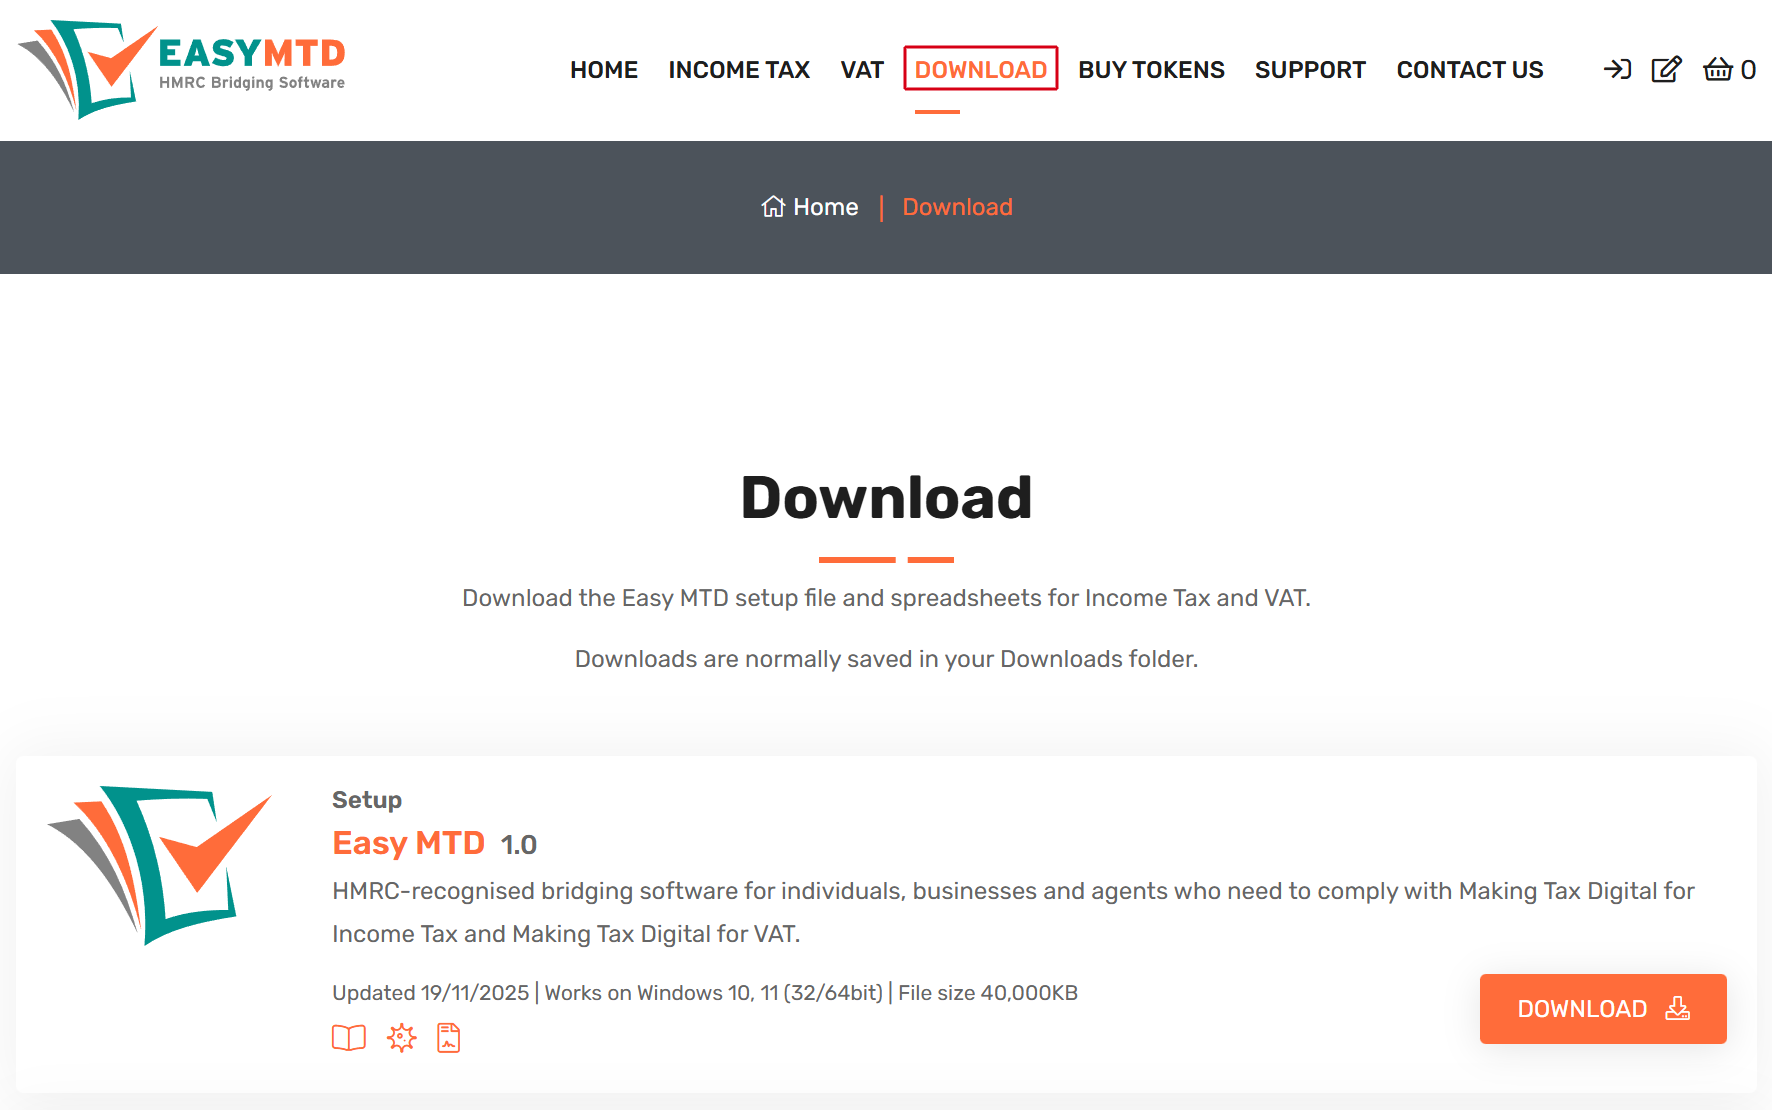
2. Click the Download button
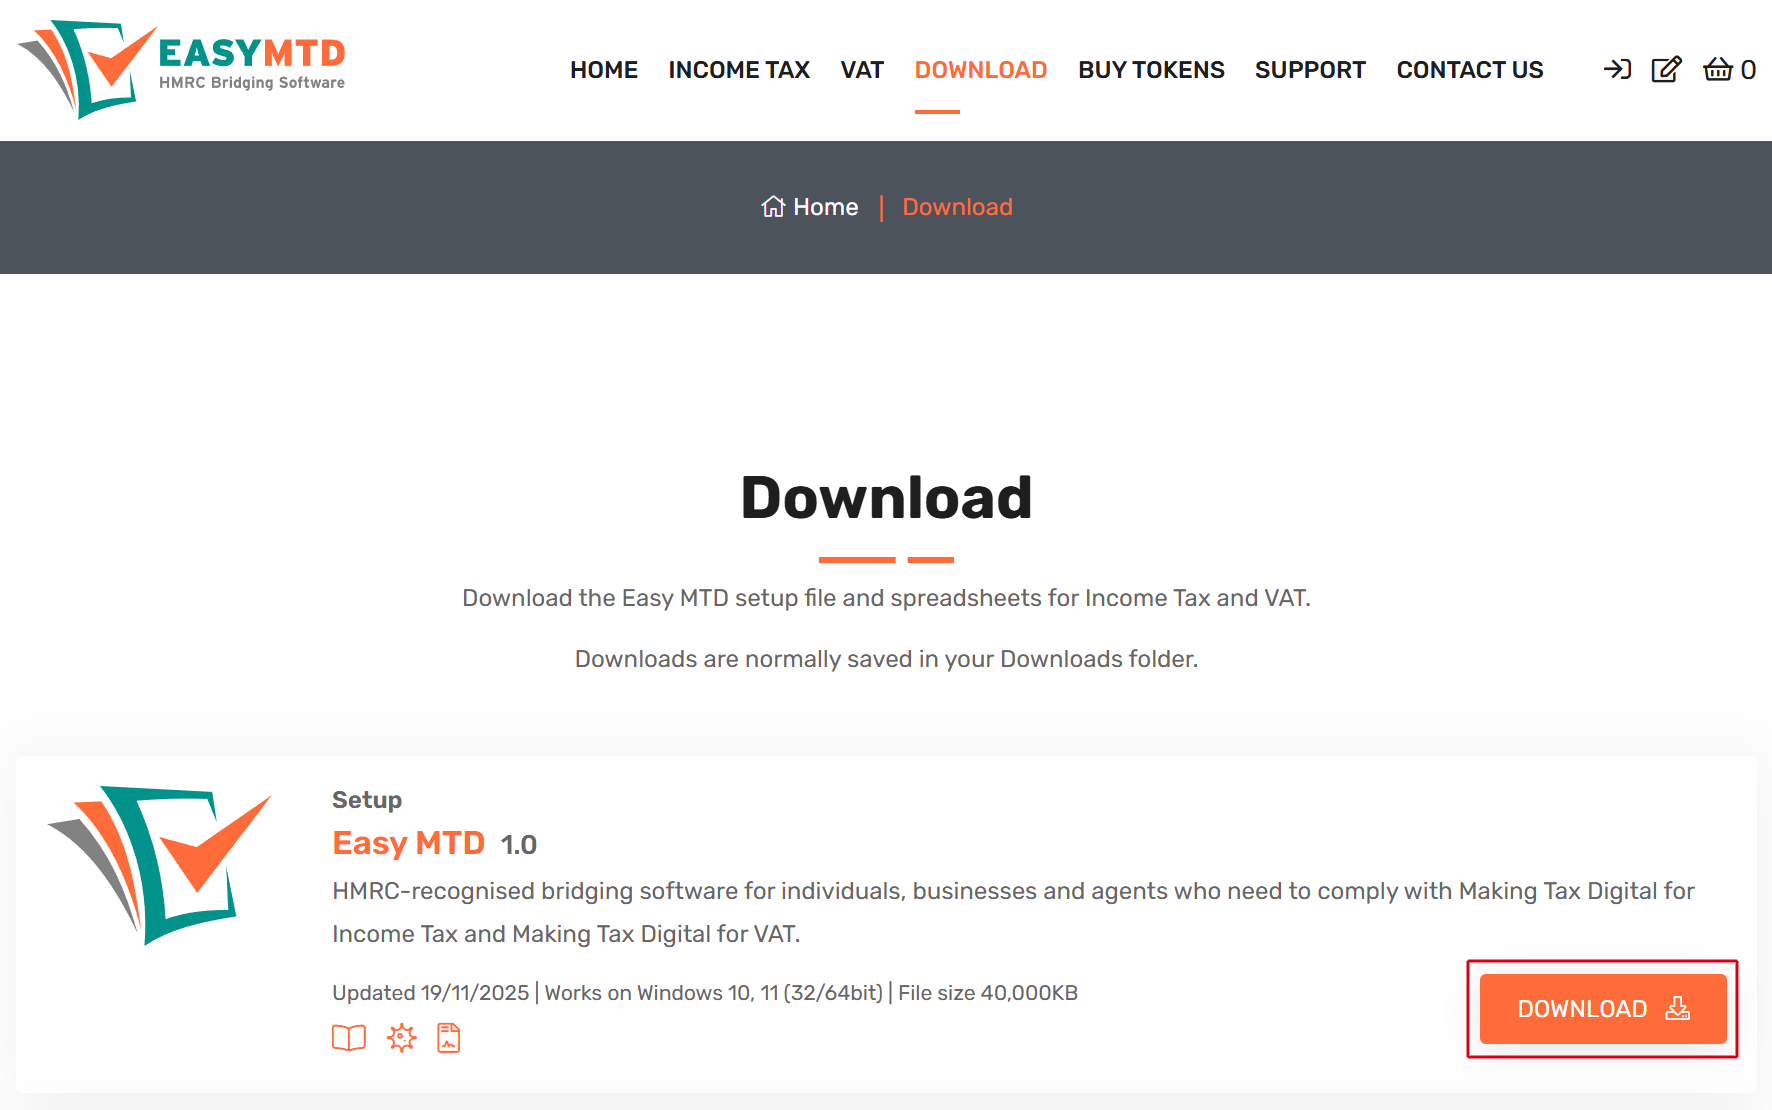
3. Click the OK button
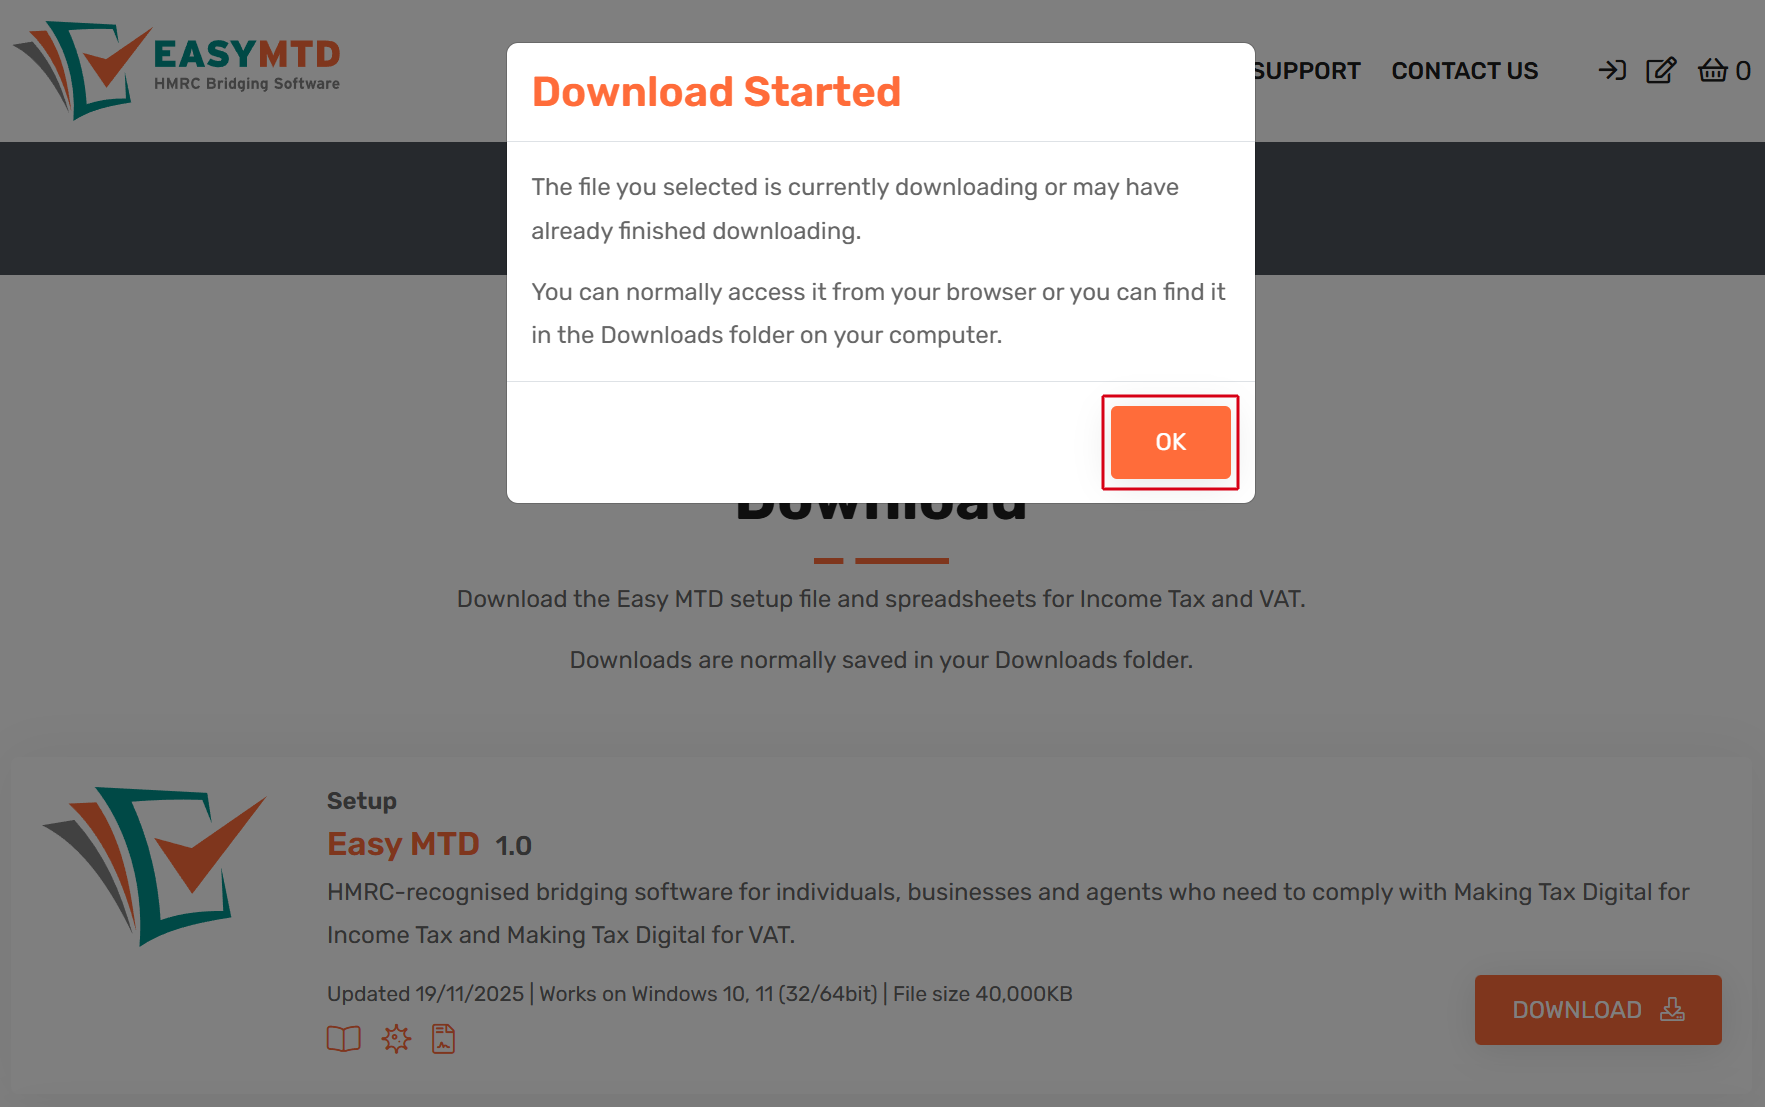
4. When the download is complete, run the Easy_MTD_Setup.exe
The setup file is normally saved in the Downloads folder on your computer and is also accessible in your browser.
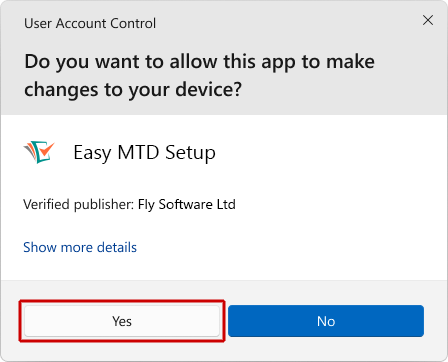
5. Click the Yes button in the User Account Control window
6. Follow the installation steps

6. Double click the Easy MTD shortcut on your Windows Desktop or search for "Easy MTD" in the Windows Taskbar search

Add a Taxpayer
You must add a taxpayer to Easy MTD before you can view and submit Income Tax figures.
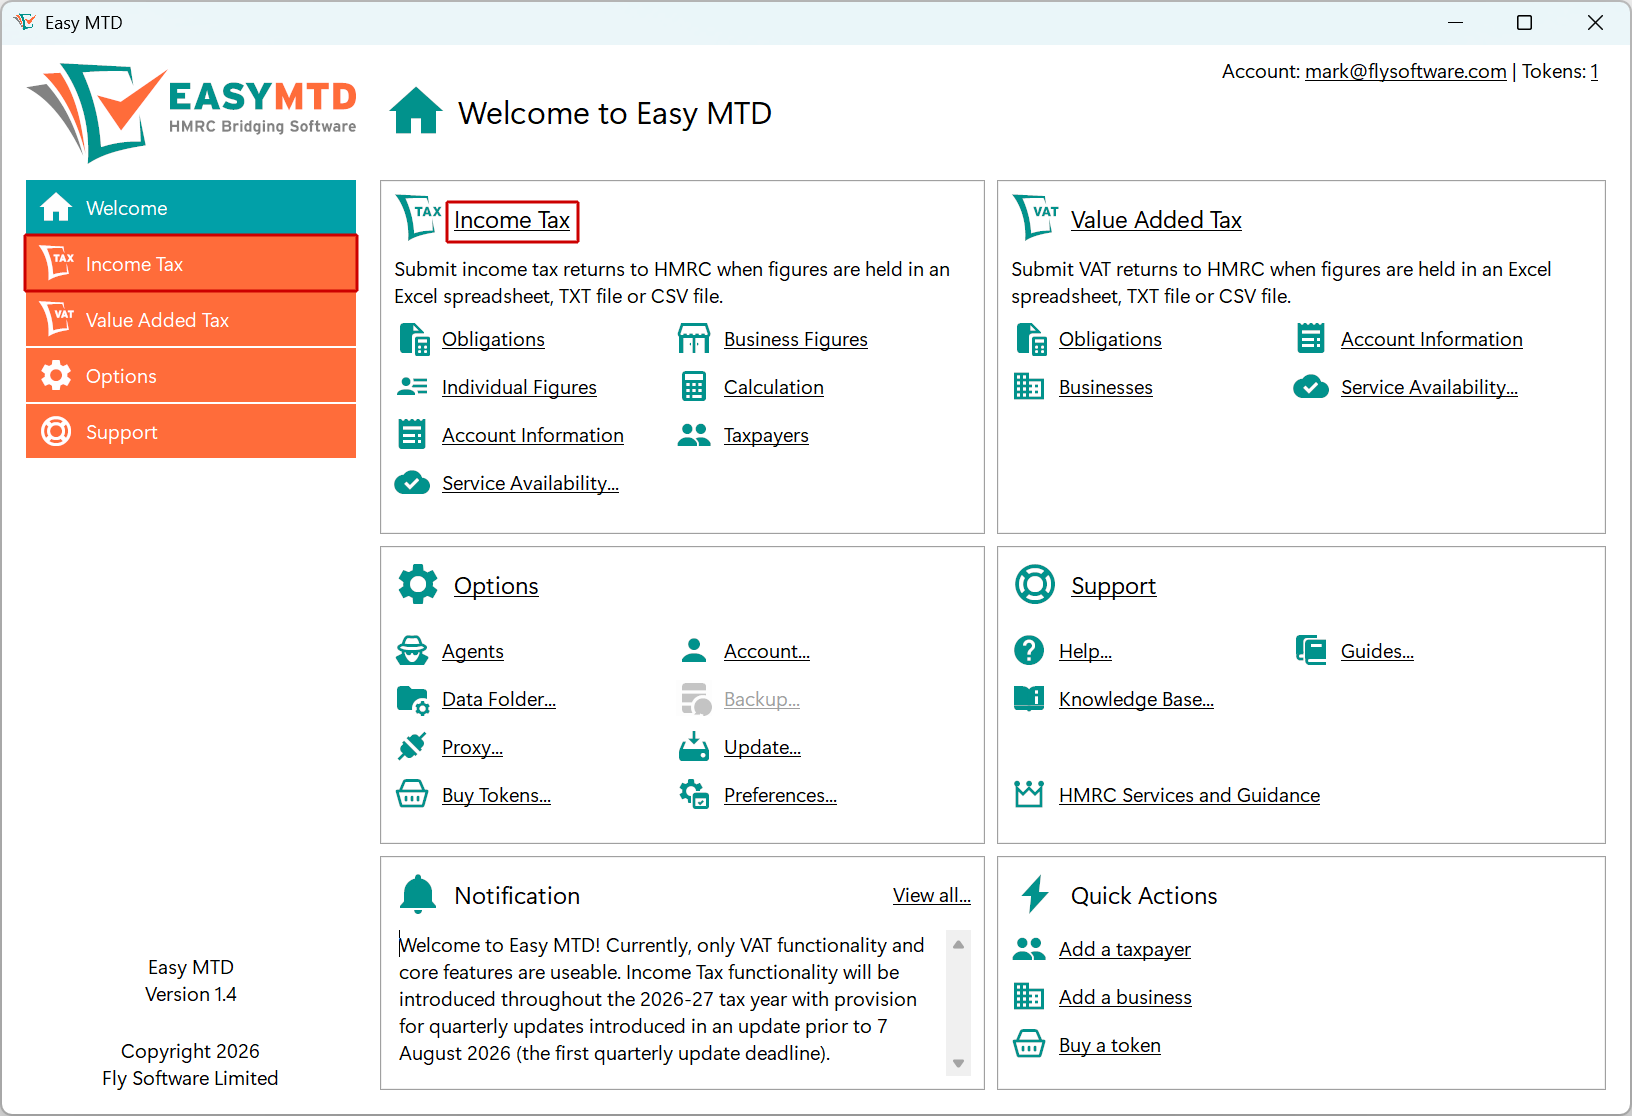
1. Click the Income Tax menu or the Income Tax link in the Welcome section
If you have not previously added a taxpayer you are automatically prompted to add one, or it can be added at any time in the following way:
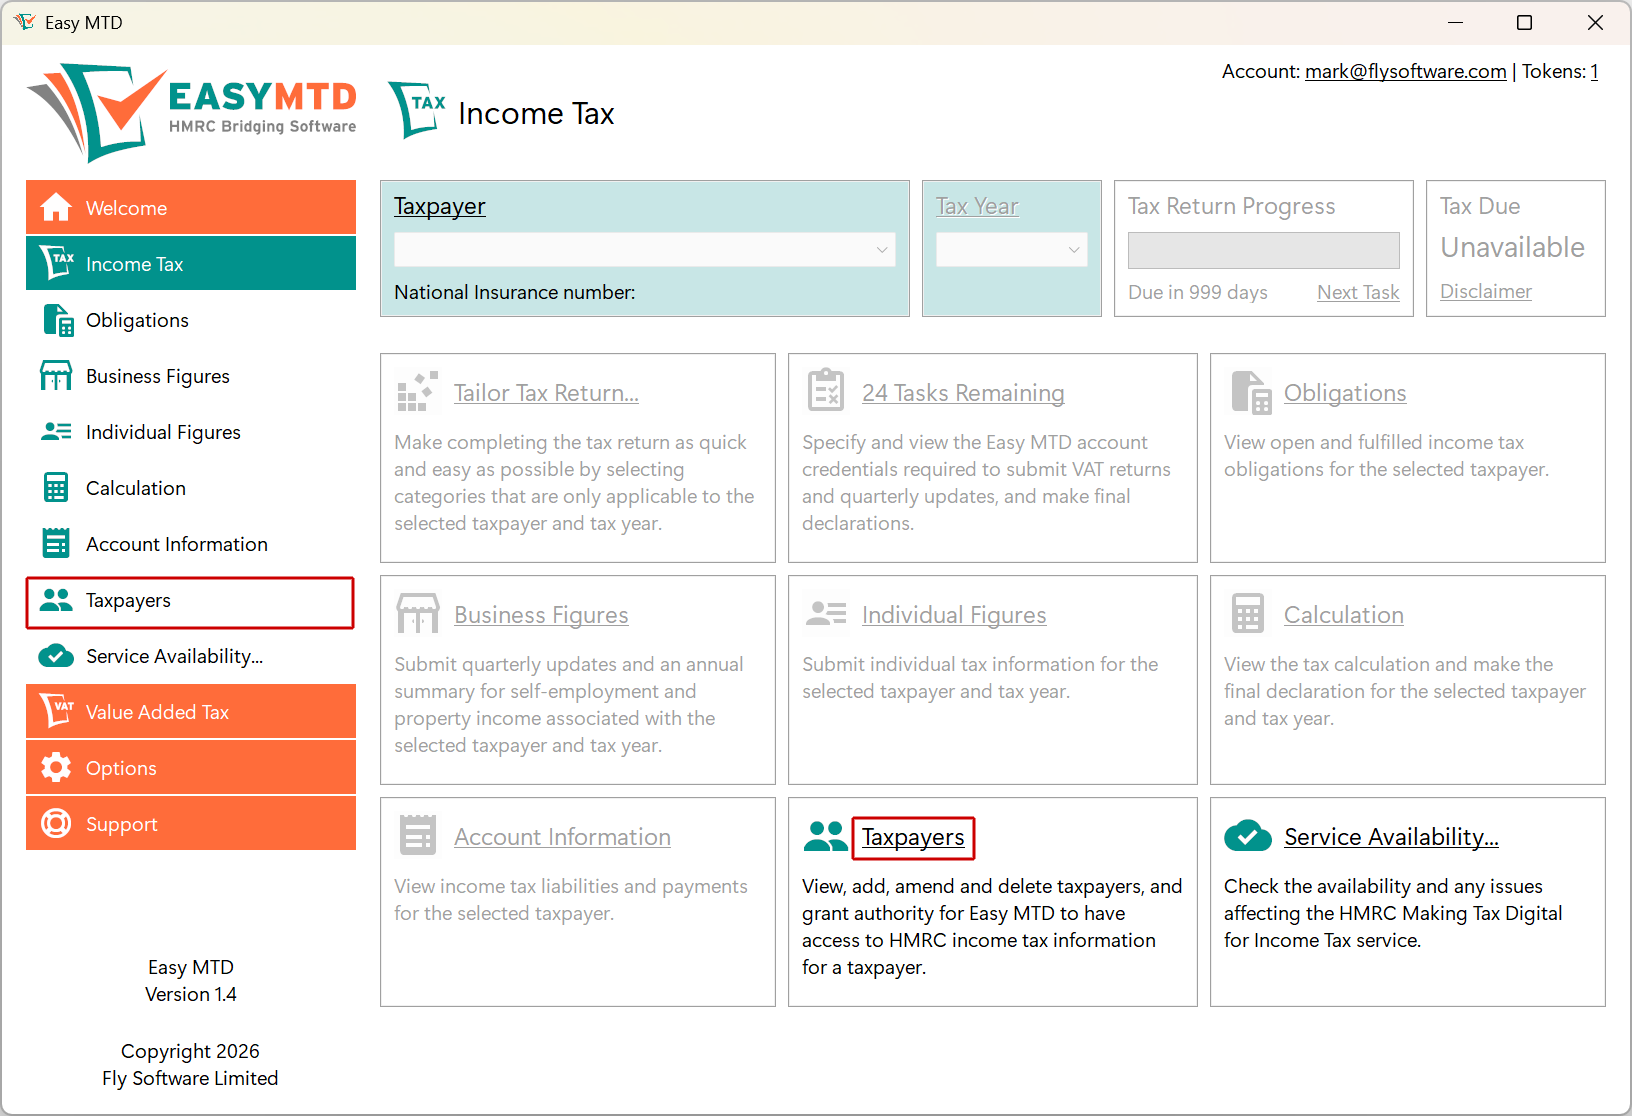
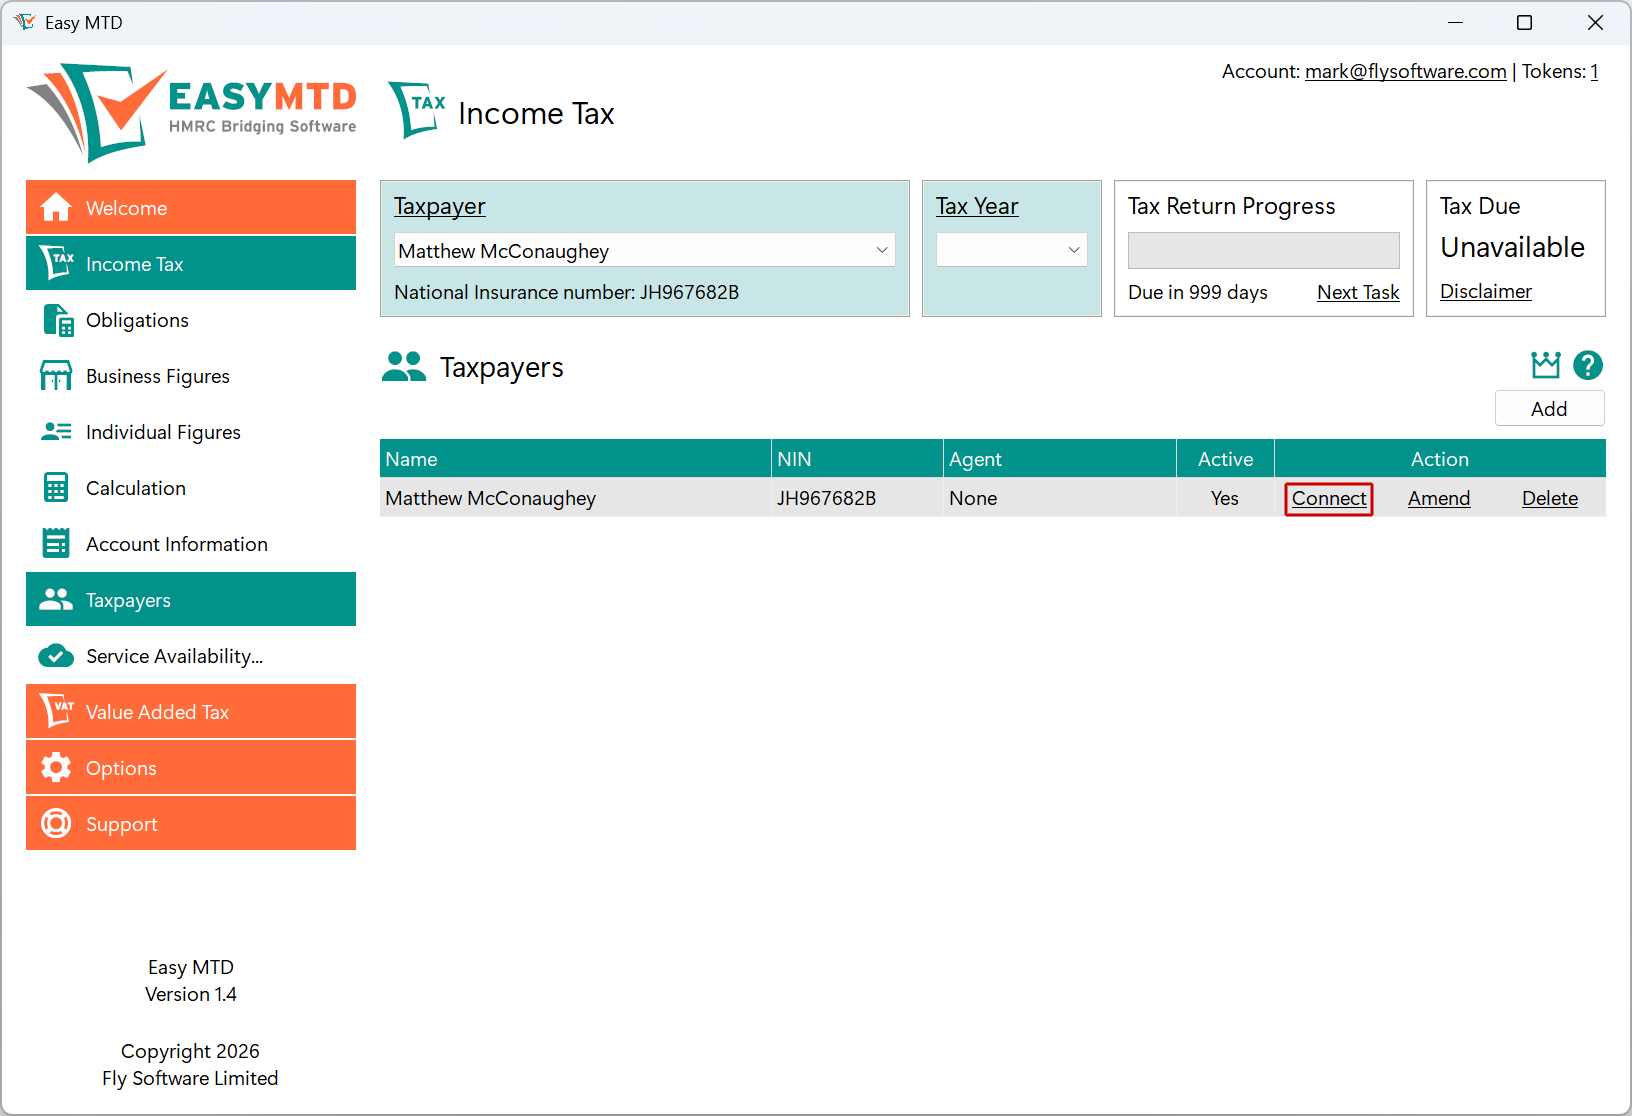
2. Click the Taxpayers menu option or Taxpayers link
3. Click the Add button
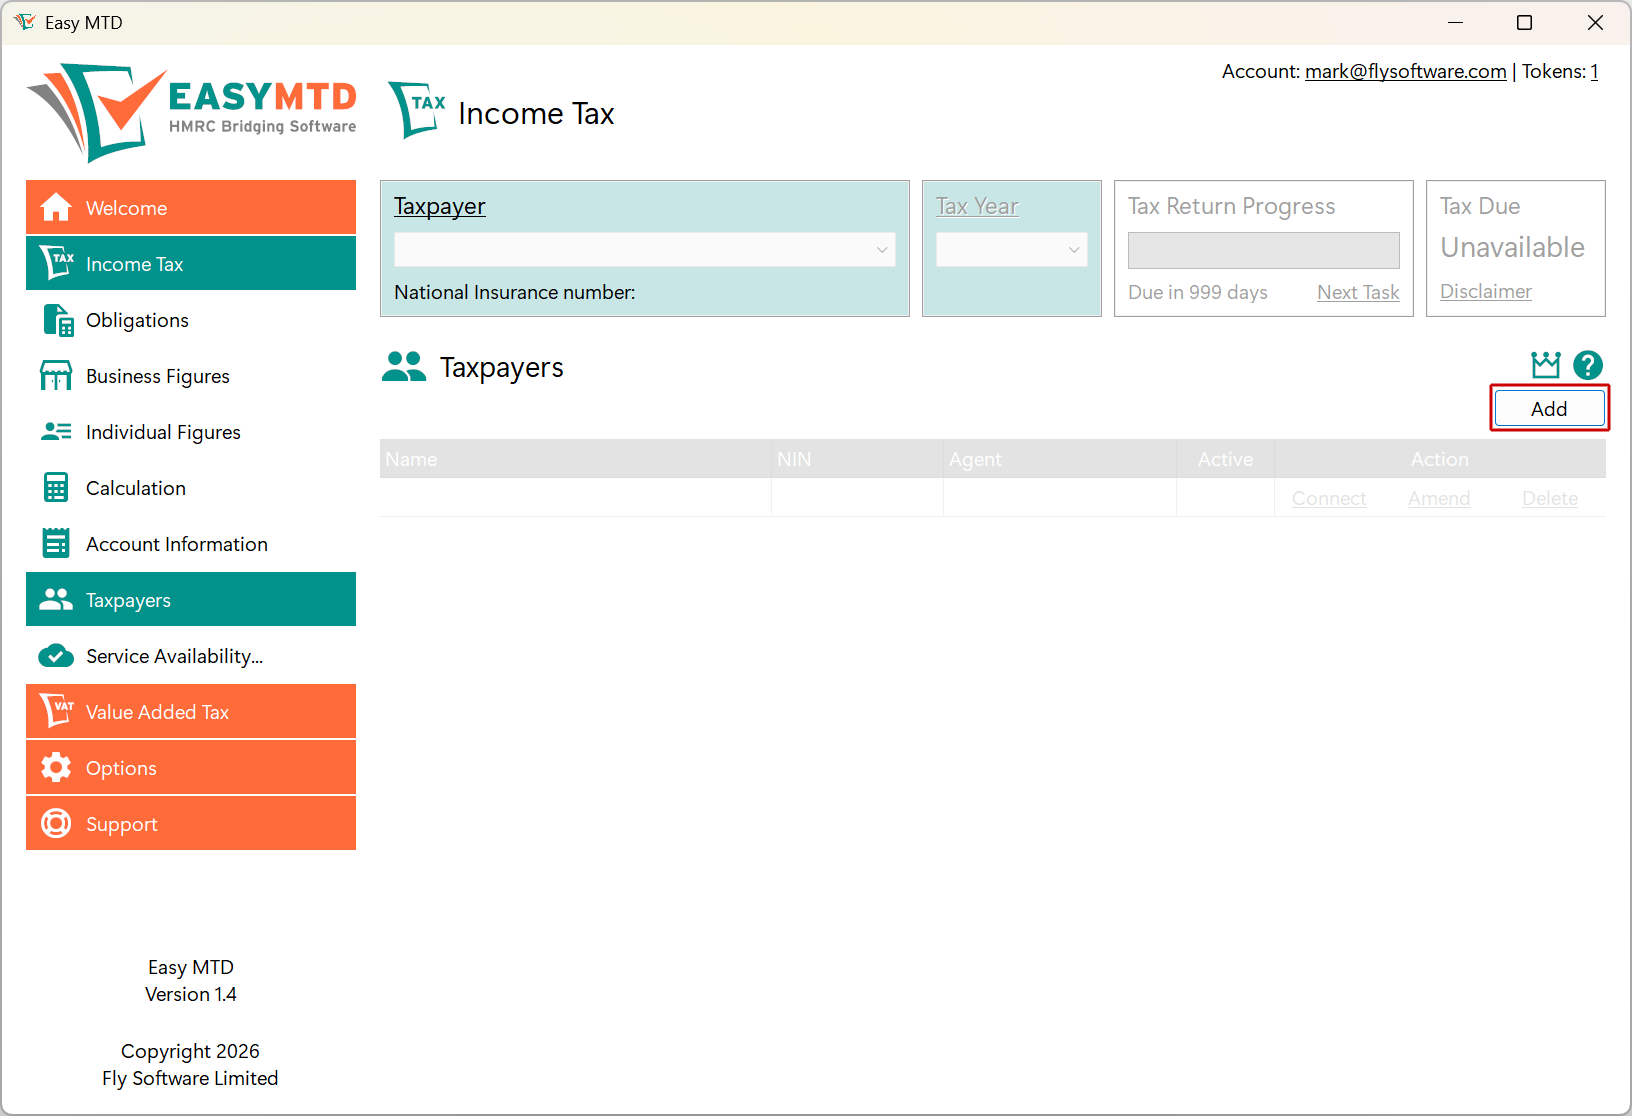
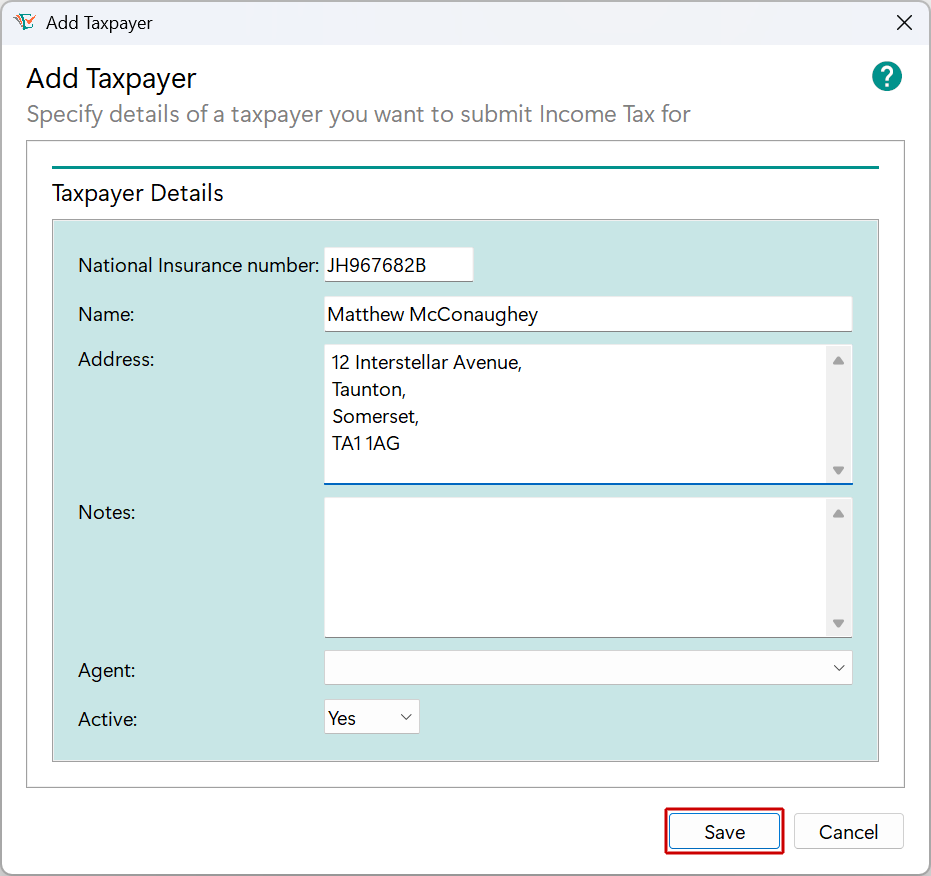
4. Specify the National Insurance number of the taxpayer
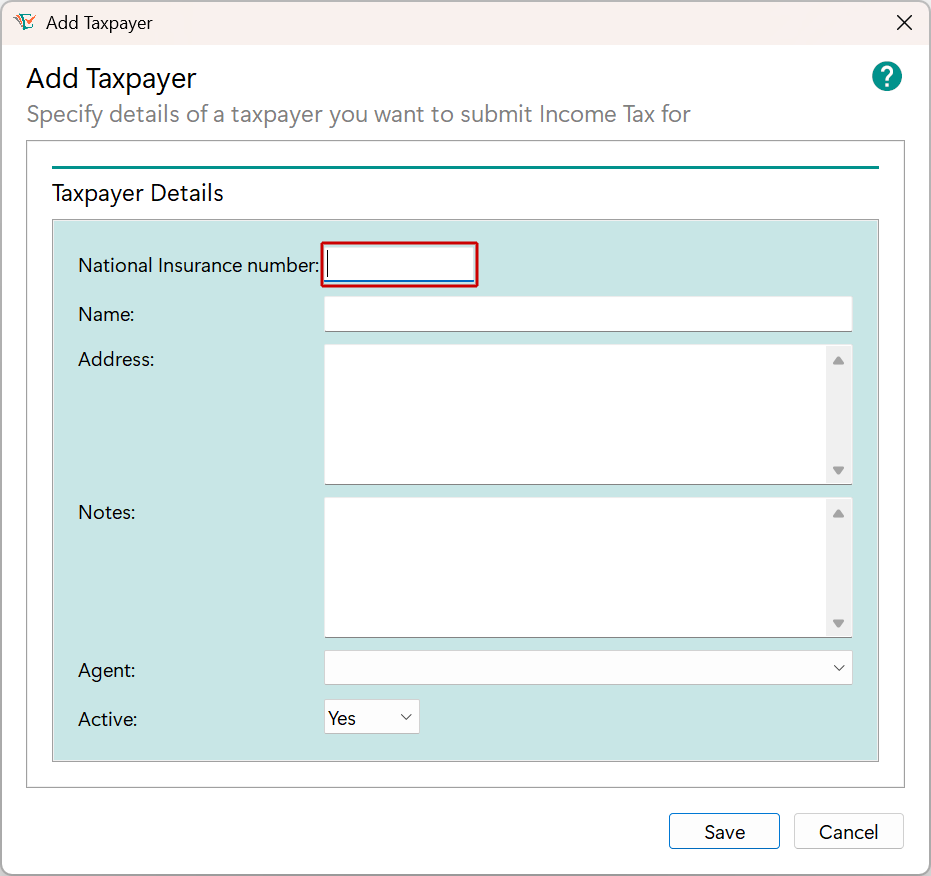
5. Specify the Name of the taxpayer
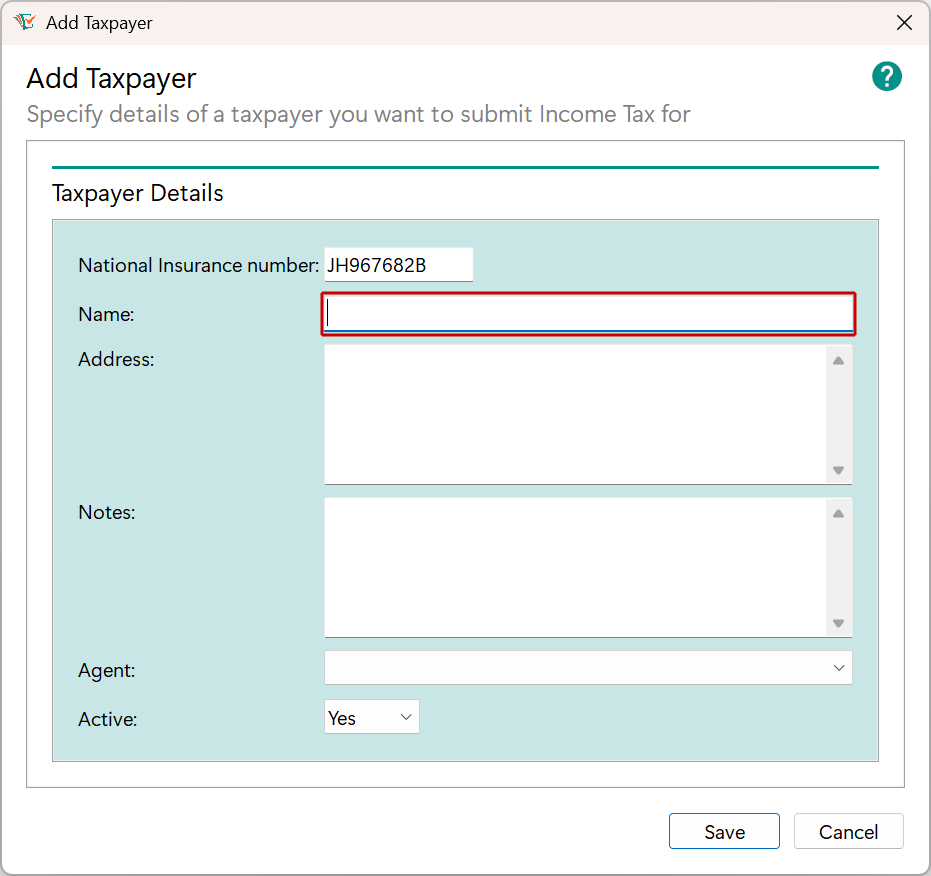
6. Optionally specify the Address of the taxpayer
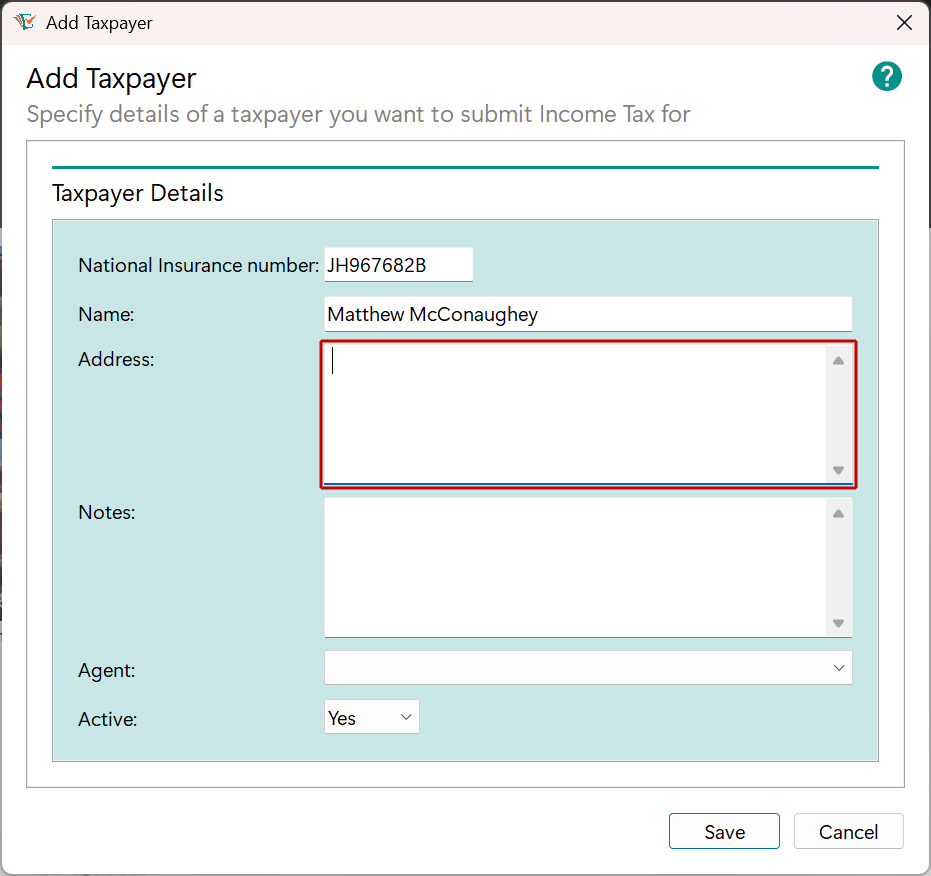
7. Click the Save button
If you are an agent, click here for information about assigning the taxpayer to an agent.
Connect with HMRC
Easy MTD needs to be connected with HMRC on behalf of the taxpayer.
1. Click the Connect link for the taxpayer previously added
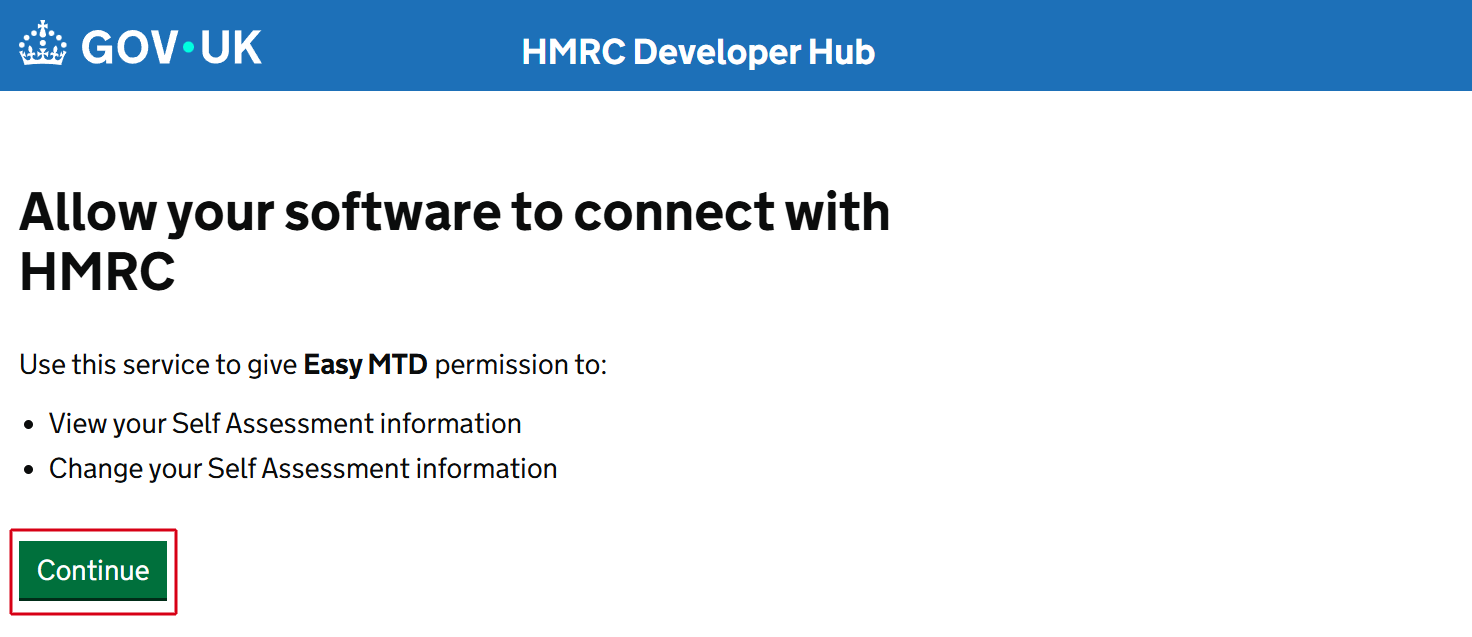
The Connect with HMRC window is opened and the "Allow your software to connect with HMRC" web page is opened in your default browser.
2. In your browser, click the Continue button and follow the connection steps
When signing in to the Government Gateway, remember to use the user ID and password associated with the taxpayer you added, or if you are an agent, your agent services account credentials.
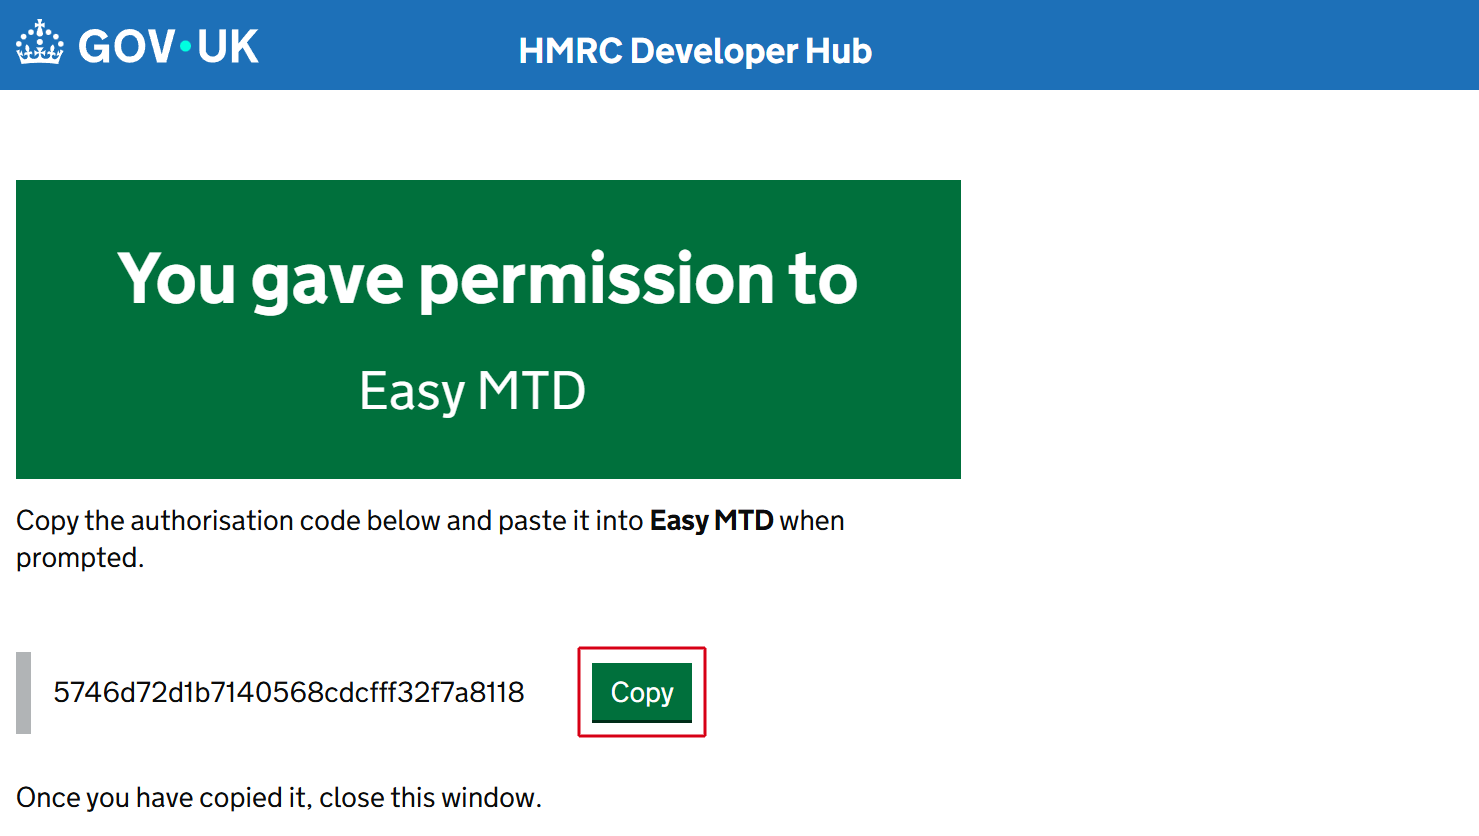
3. Click the Copy button
4. In Easy MTD, click the Paste Code button
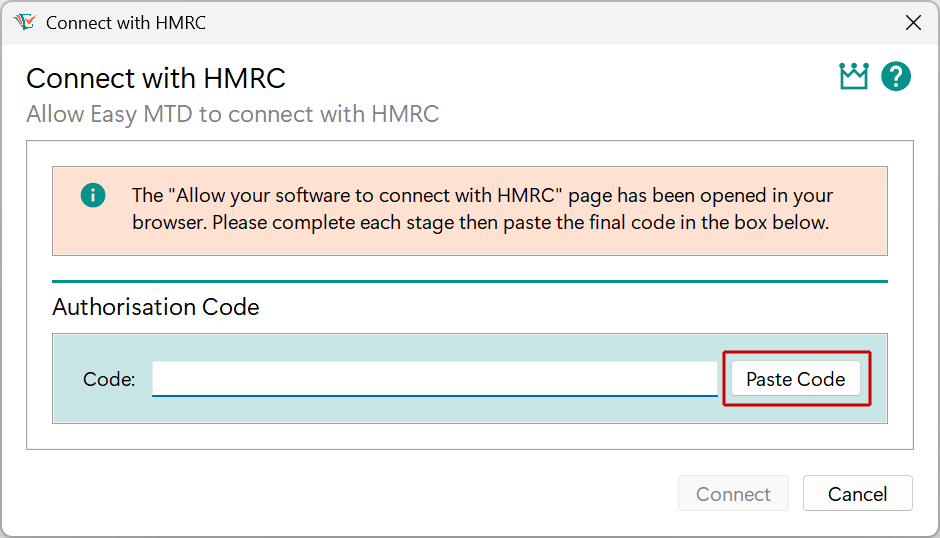
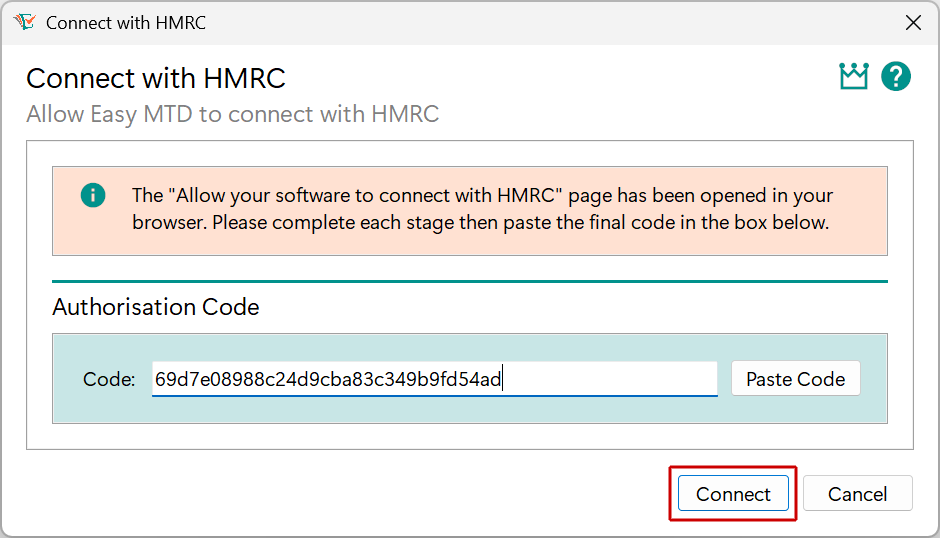
5. Click the Connect button
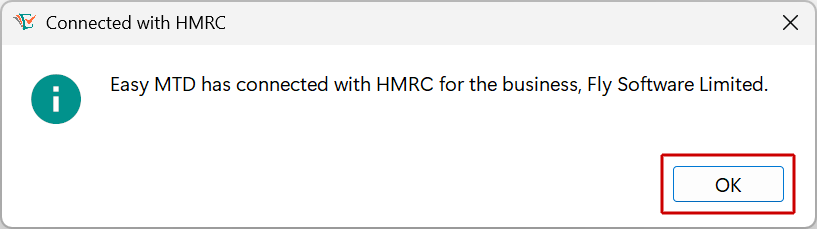
6. Click the OK button
If connecting to HMRC is unsuccessful, click here for information about why this may have occurred and how to resolve it.
Specify Your Account
Your Easy MTD account must be specified in Easy MTD before certain Income Tax figures can be submitted.
1. Click the Options menu
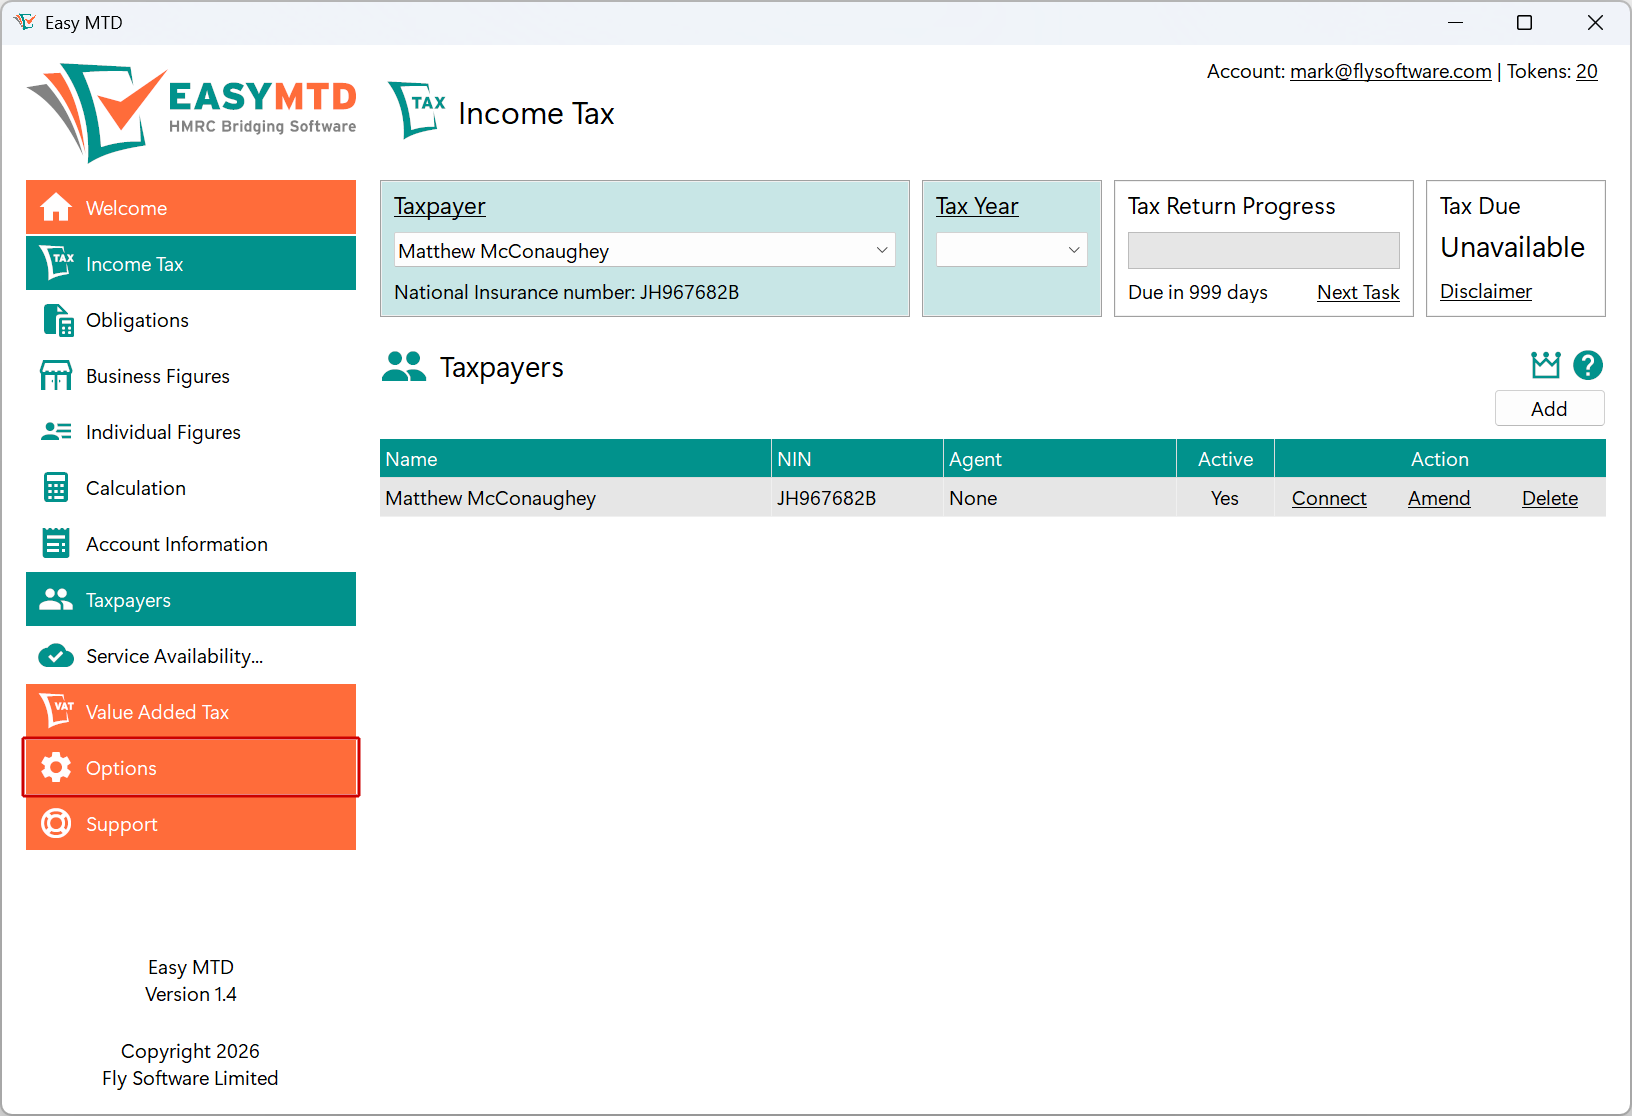
2. Click the Account option or the Account link
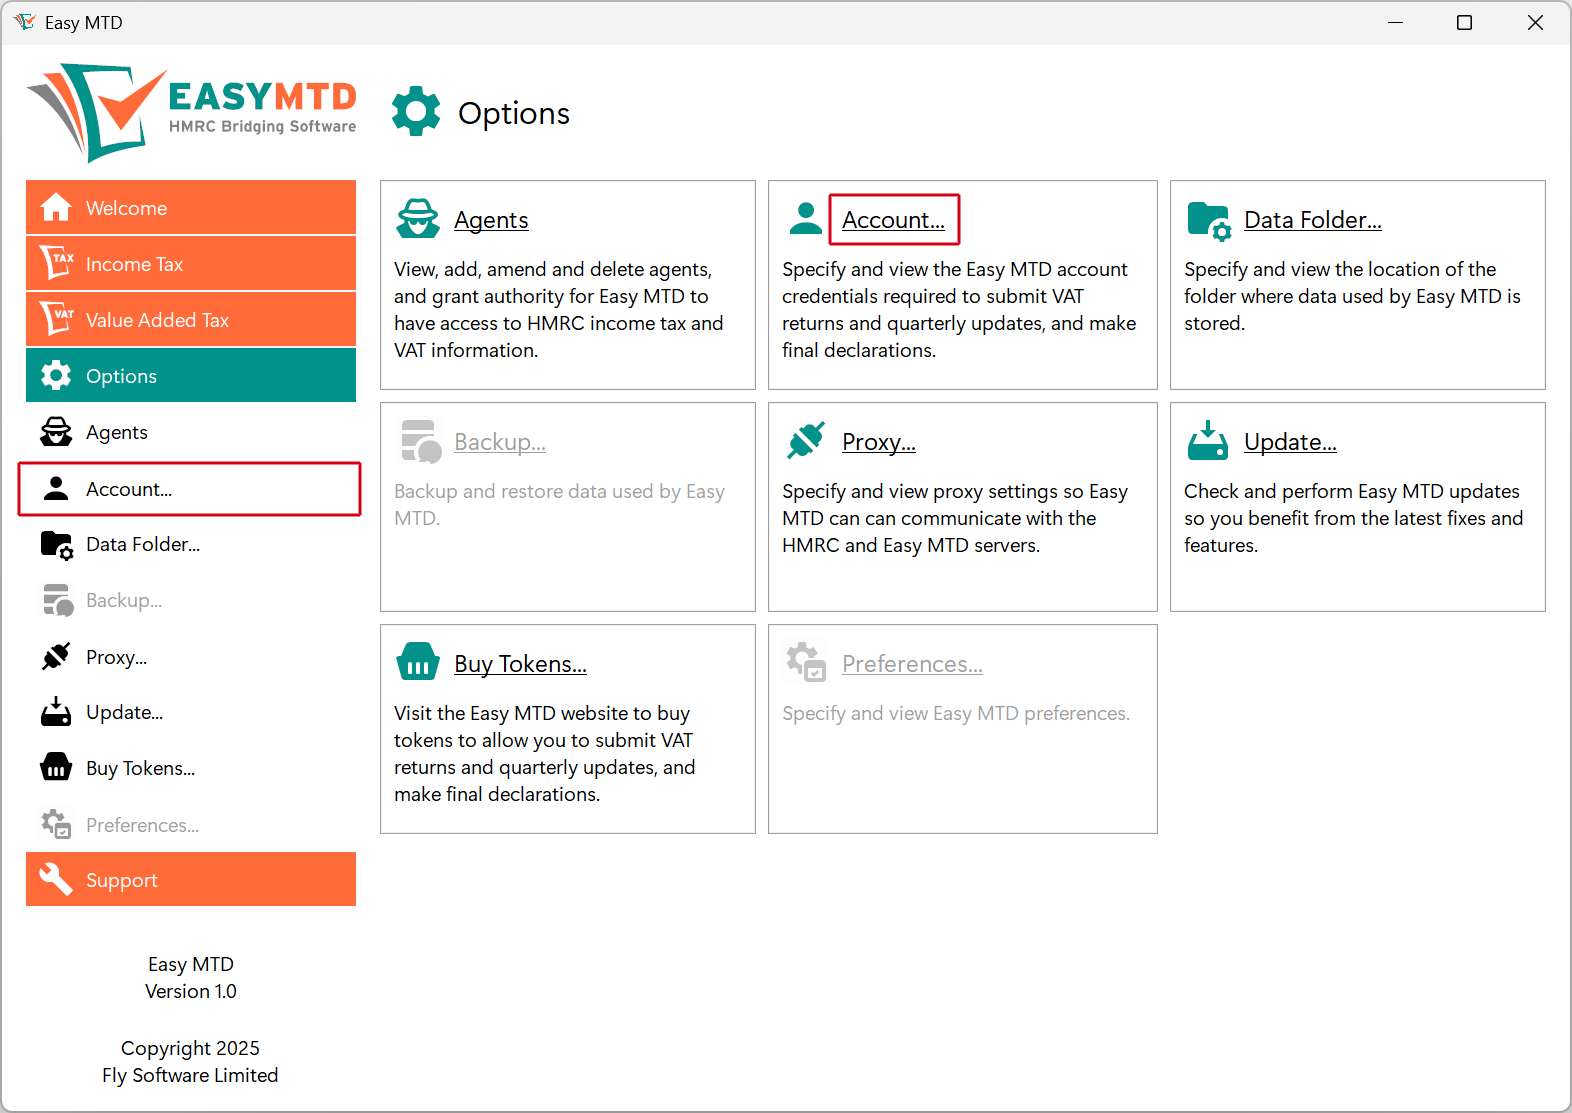
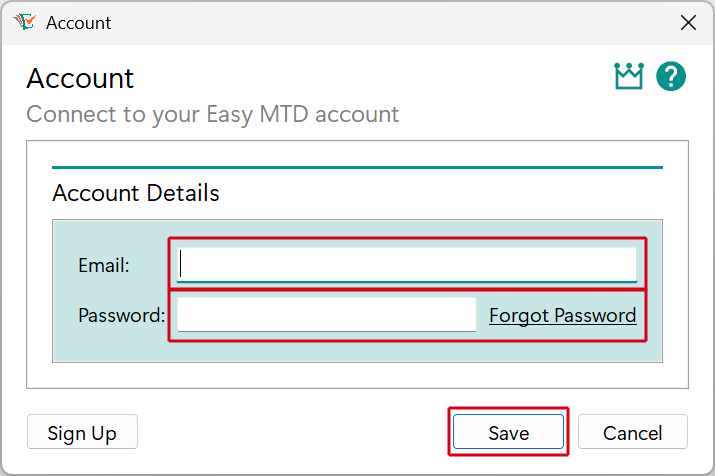
3. Specify your account Email and Password and click the Save button